

A whitelist makes your Minecraft server private, only players you approve can connect. It's the simplest way to run a server for friends.
Enable the whitelist
Log in at panel.8bit-hosting.com, open your server and click Files. Open server.properties and find these two lines:
white-list=false
enforce-whitelist=false
Change both to true and save the file.
white-list=true
enforce-whitelist=true
Add players via the console
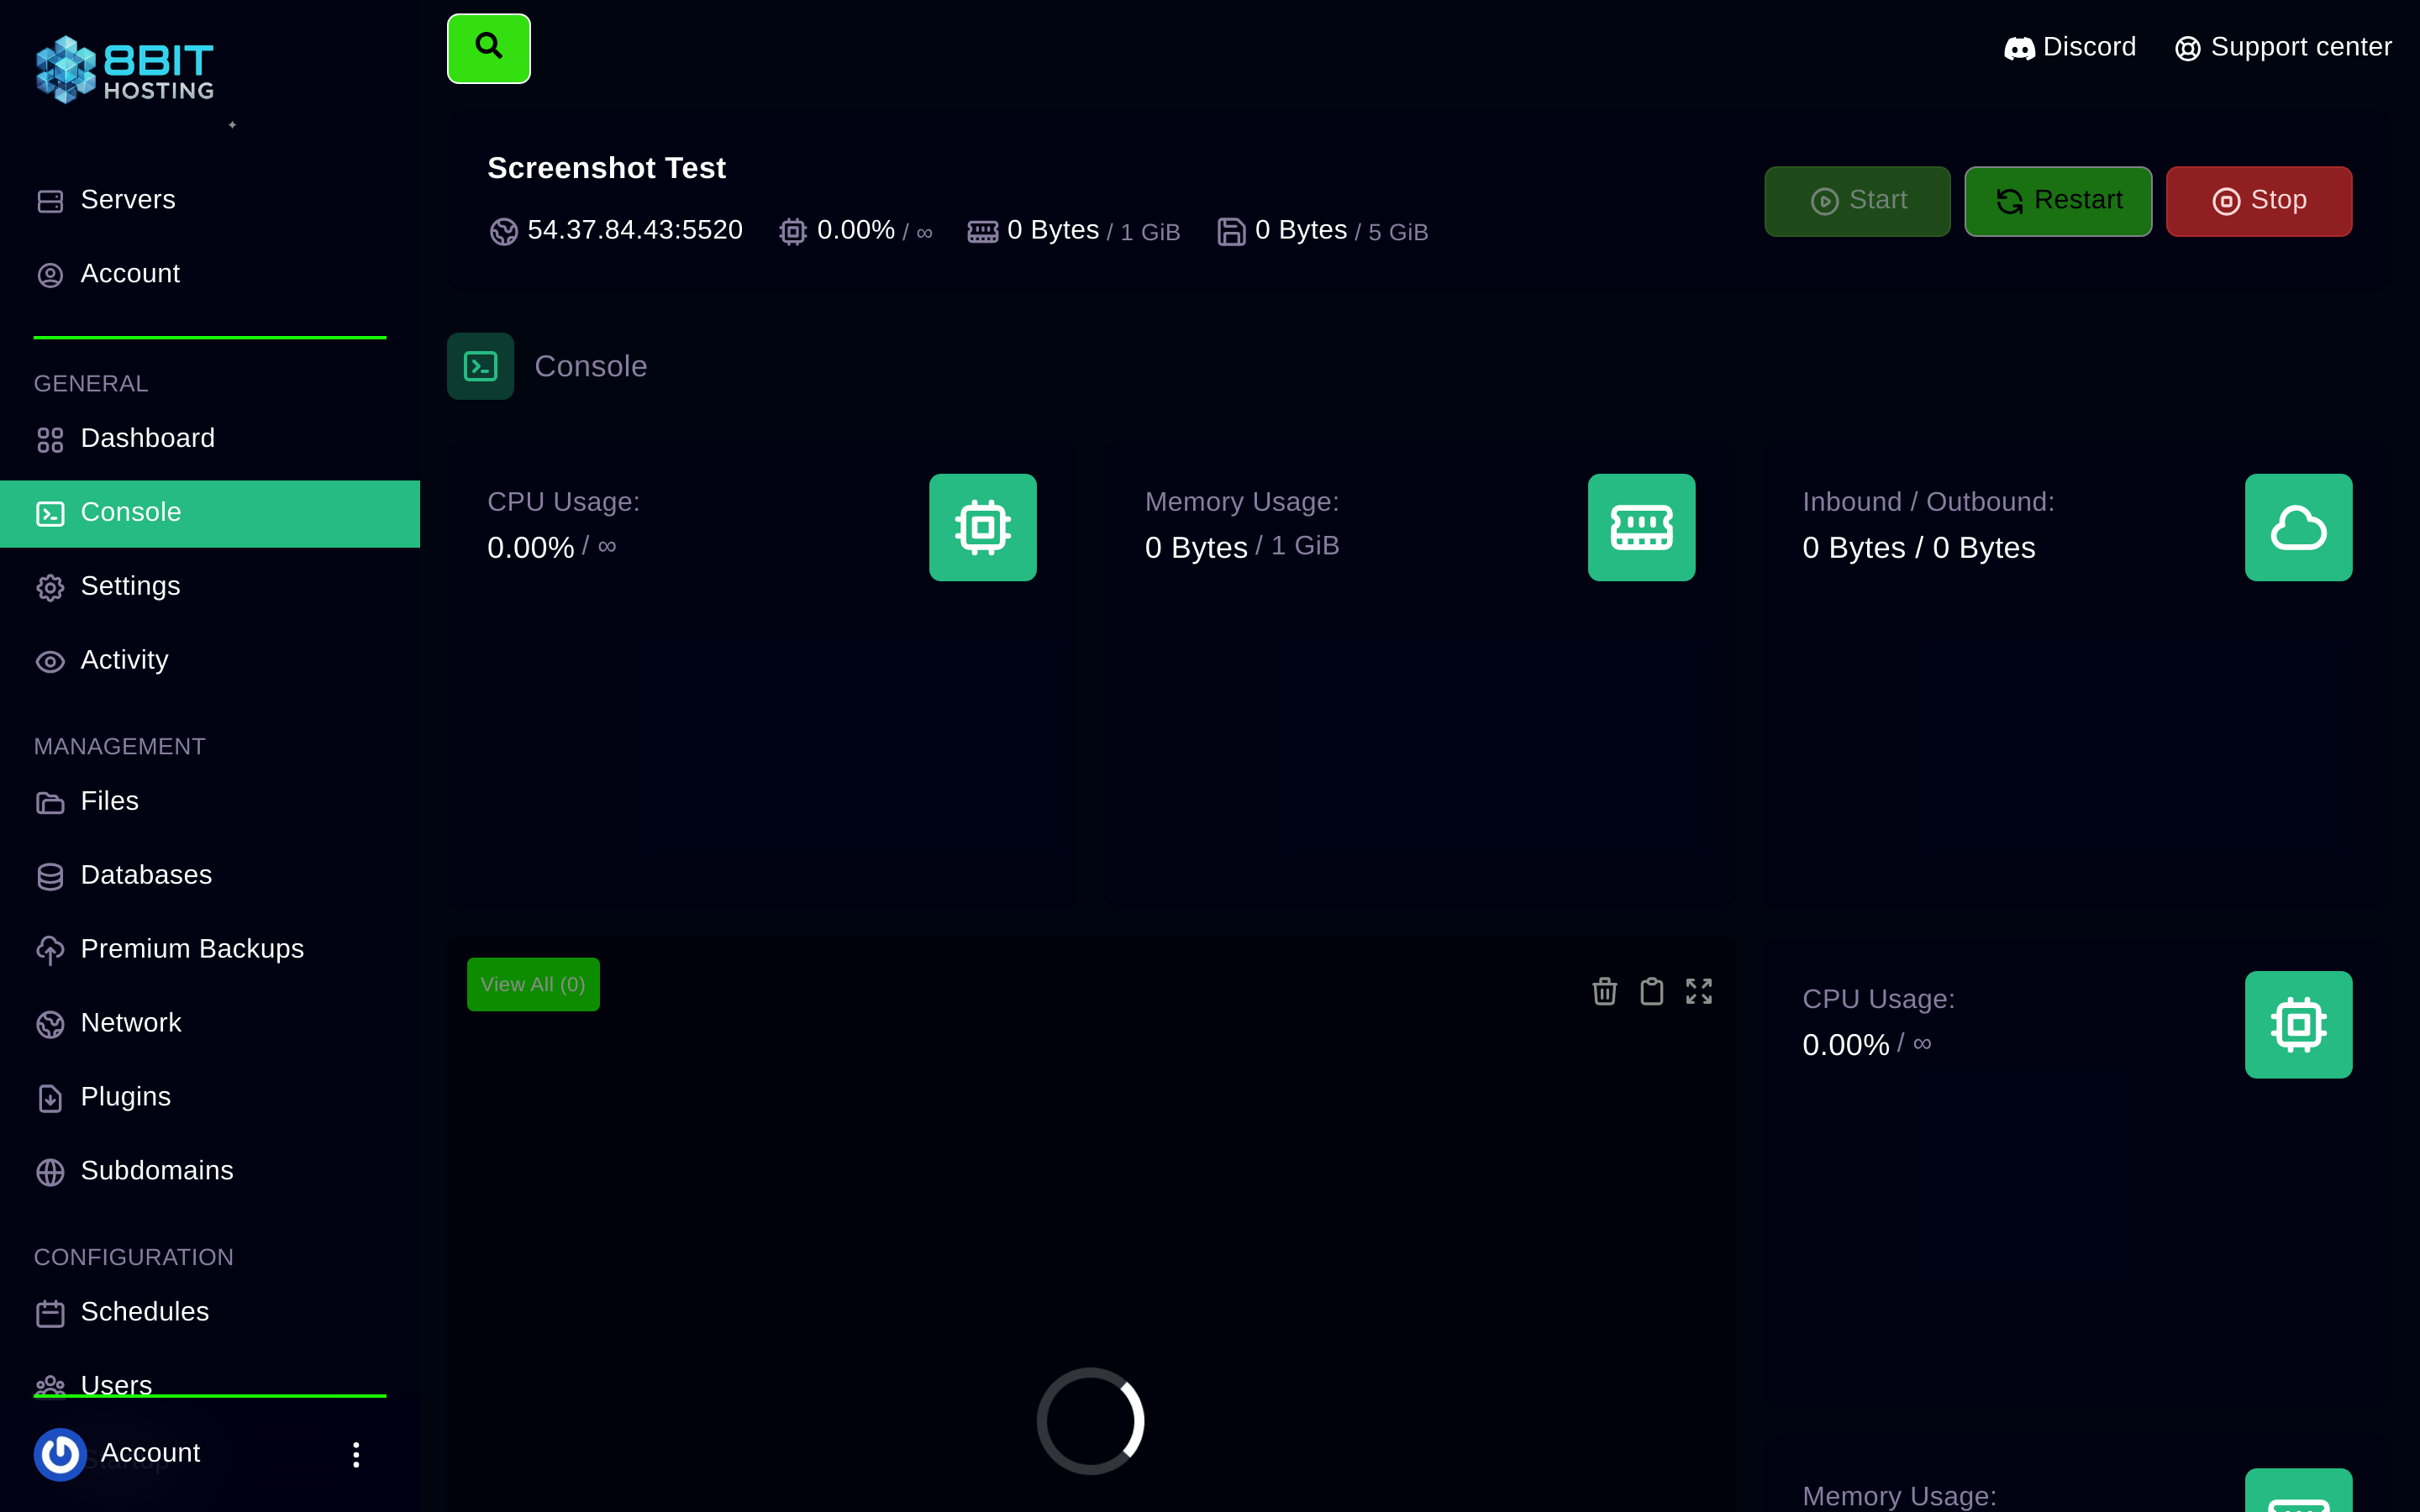
Click Console. With the server running, type:
whitelist add PlayerName
Replace PlayerName with the player's exact Minecraft username (case-sensitive). Repeat for each player.
Other useful whitelist commands
whitelist remove PlayerName
whitelist list
whitelist off
whitelist on
Add players by editing whitelist.json
Click Files and open whitelist.json. Add entries in this format (get the UUID from mcuuid.net):
[
  {
    "uuid": "player-uuid-here",
    "name": "PlayerName"
  }
]
After saving, run whitelist reload in the console.
Need help? Join our Discord or email support@8bit-hosting.com.