

The 8Bit Hosting panel has a built-in Modrinth plugin browser. You can search millions of plugins and install them in one click, no downloading, no SFTP, no file manager needed.
\nStep 1:
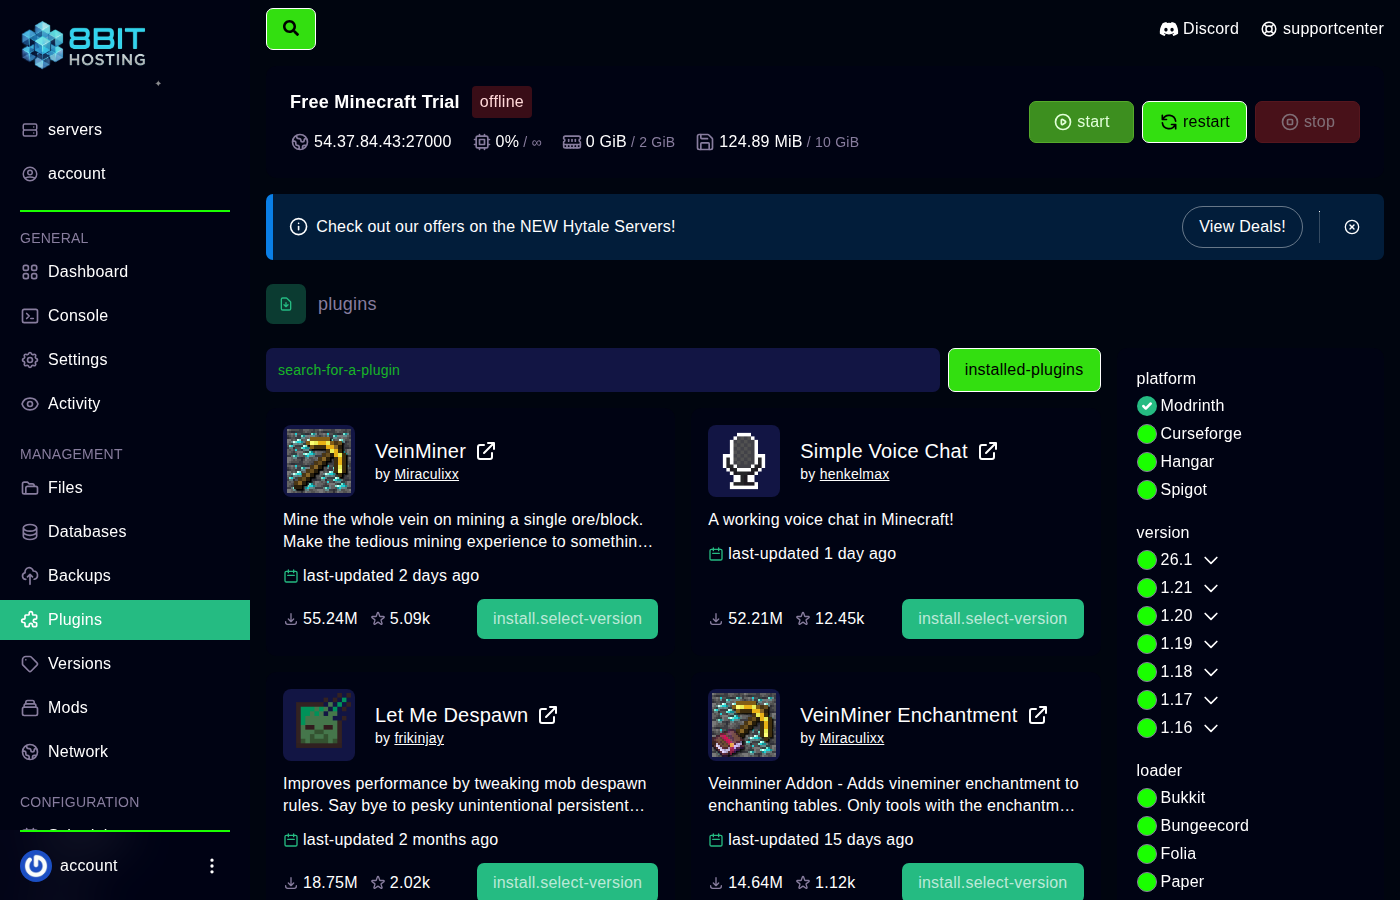 Open the Plugins browser
\nLog in at panel.8bit-hosting.com, open your server and click Plugins in the left sidebar. The Modrinth marketplace loads inside the panel.
\nStep 2: Search for a plugin
\nUse the search bar to find what you need. Results show the plugin name, download count and description. Click any result to see full details including compatible Minecraft versions.
\nStep 3: Install it
\nOn the plugin detail page, choose your Minecraft version from the dropdown and click Install. The panel downloads the JAR straight into your server's plugins folder.
Step 4: Restart the server
\nClick Console then Restart. Once back online, the plugin's name appears in the startup messages. [ENABLED] means it's working.
\n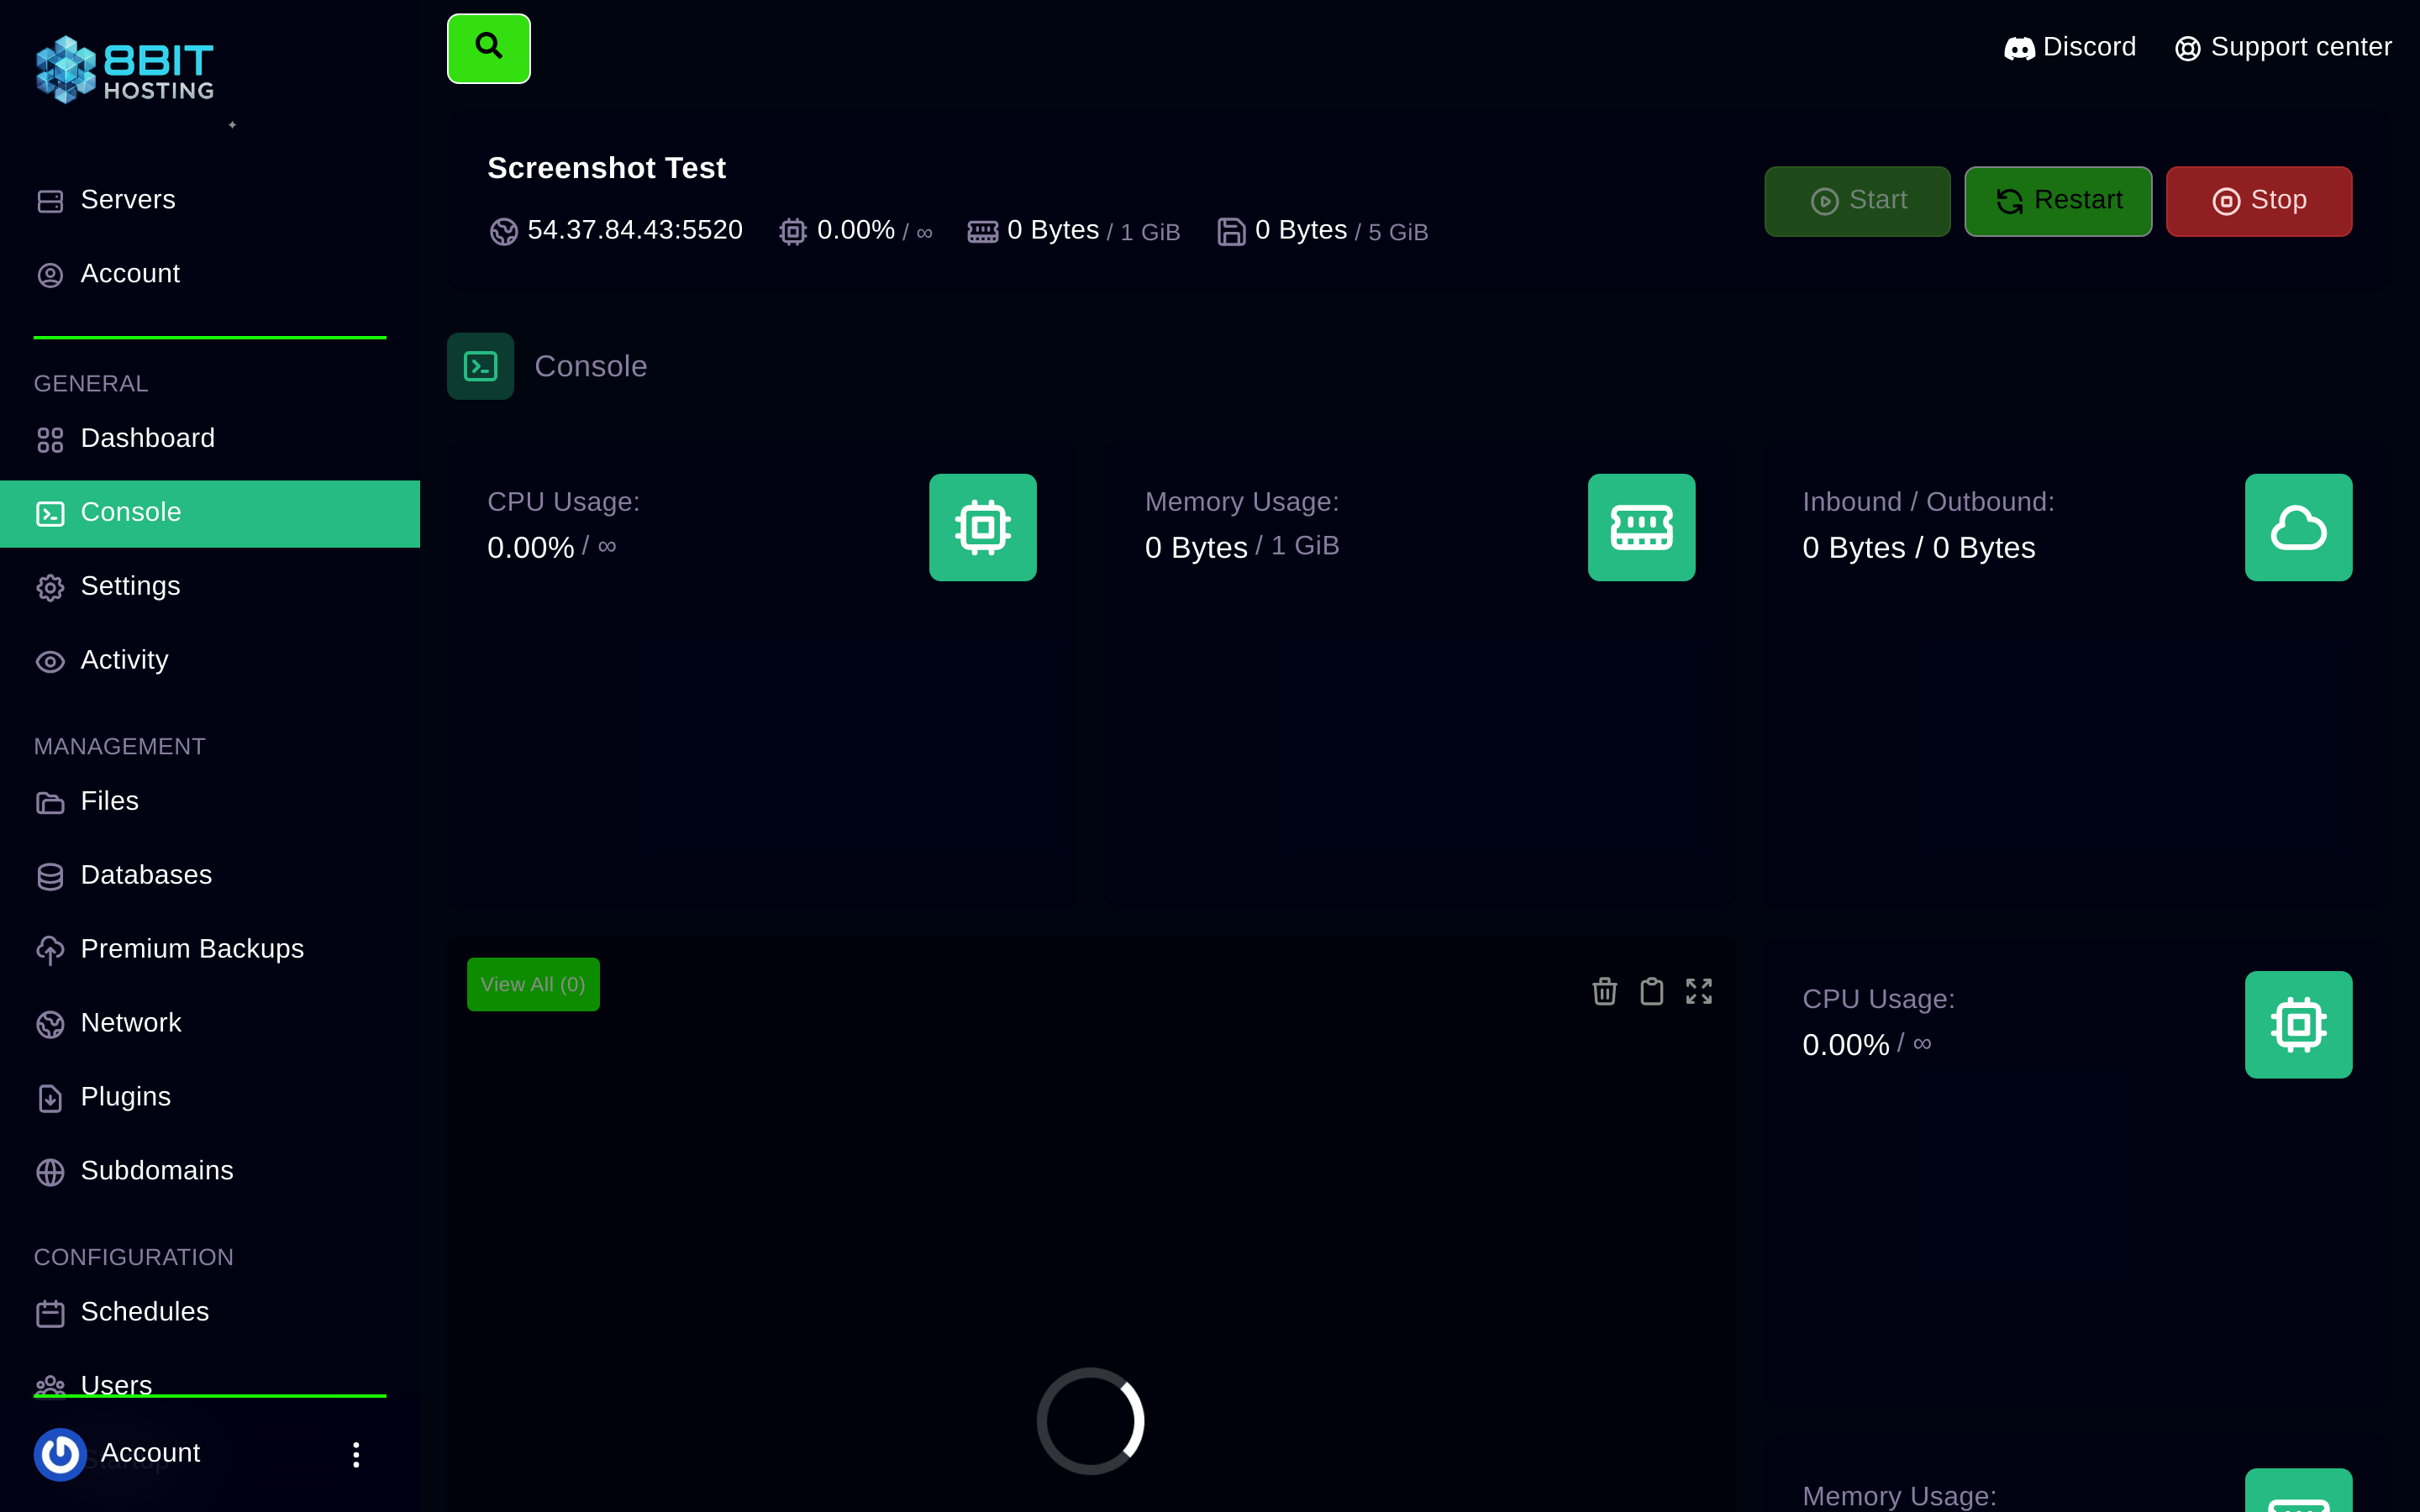 \n
\nConfiguring plugins
\nMost plugins create plugins/PluginName/config.yml on first load. Click Files, open the plugins folder, find your plugin's folder and click the config to edit it inline.
Common problems
\n- \n
- Plugin not loading - Check the console for red errors. Usually a wrong Minecraft version or missing dependency. \n
- Conflict with another plugin - Remove plugins one at a time to find the clash. \n
- "This version is not compatible" - Your server version doesn't match. Update the server or choose an older plugin release. \n
Need a hand? Join our Discord or email support@8bit-hosting.com.