
The Schedules feature lets you automate anything you'd normally type into the console, restarts, world saves, broadcast messages, lag clears and more.
Step 1: Open Schedules
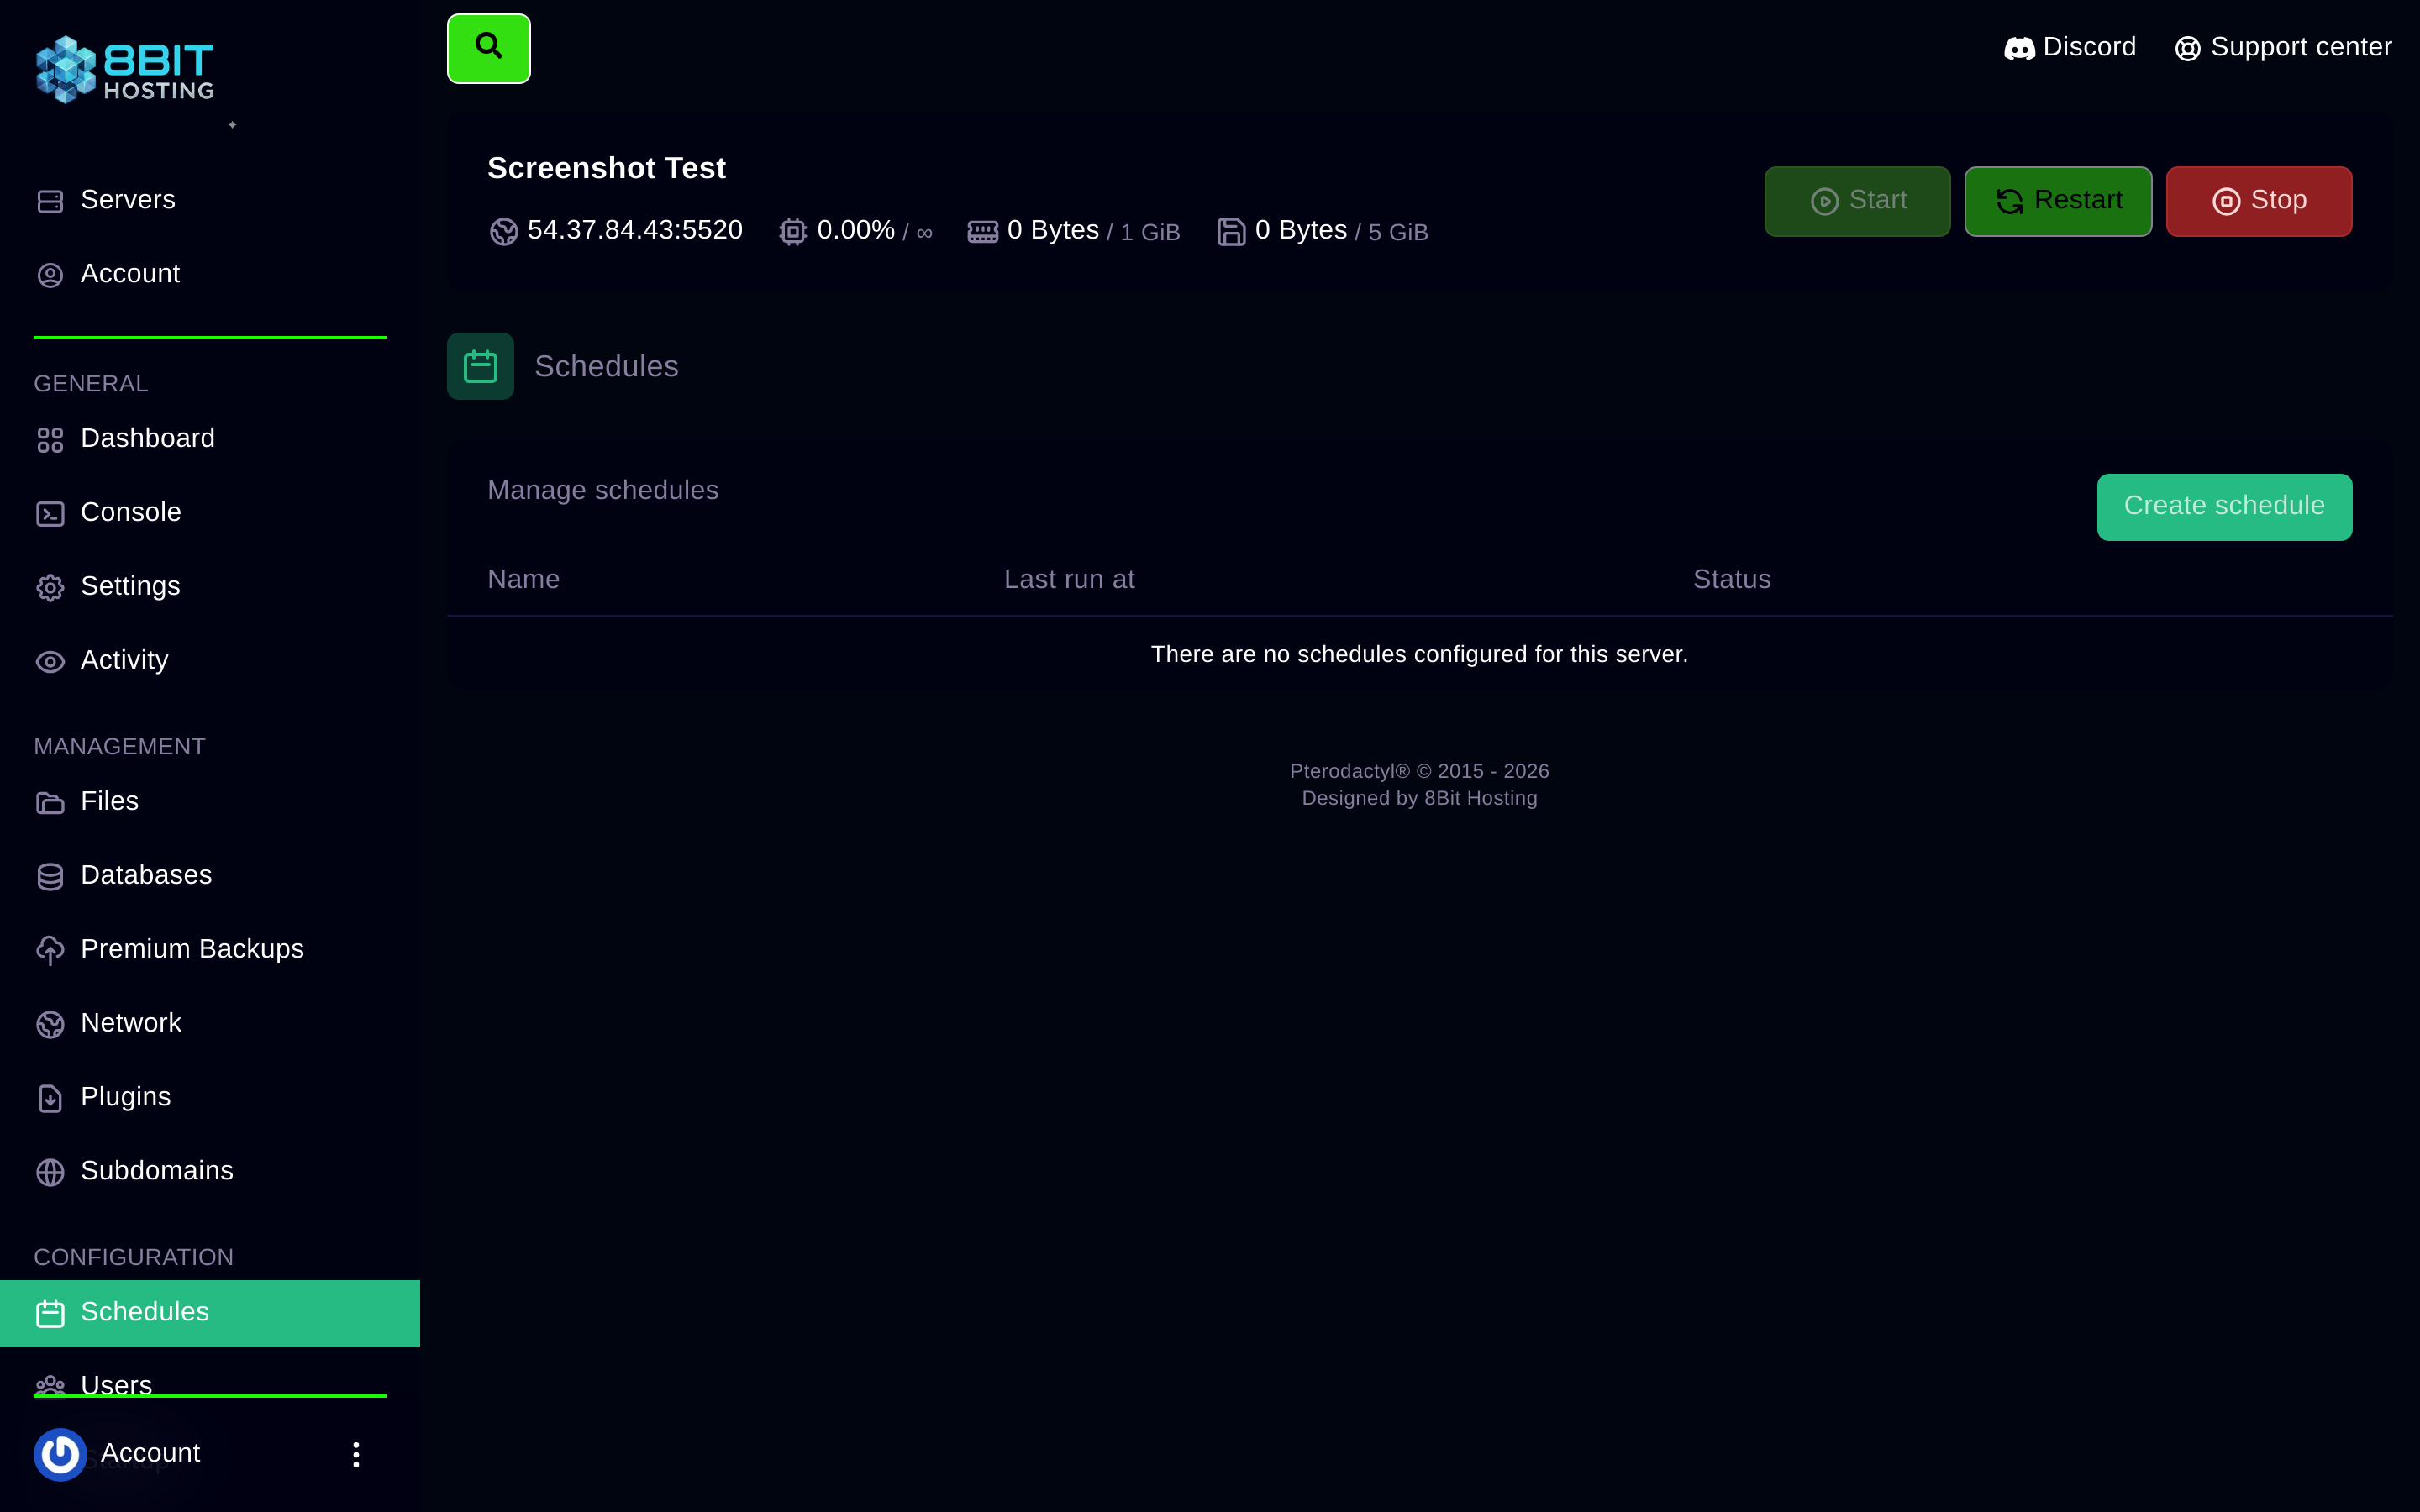
Log in at panel.8bit-hosting.com, open your server and click Schedules. Click Create schedule.
Step 2: Set the timing with a cron expression
Copy one of these ready-made expressions:
| Expression | When it runs |
|---|---|
| 0 4 * * * | Every day at 4 AM |
| 0 */6 * * * | Every 6 hours |
| 0 * * * * | Every hour on the hour |
| */30 * * * * | Every 30 minutes |
| 0 4 * * 0 | Every Sunday at 4 AM |
Step 3: Add tasks
Each schedule runs tasks in sequence. Click New Task and choose:
- Send command - Type any console command, for example
say Server restarting in 5 minutesorsave-all. - Send power action - Restart, stop or start the server.
- Create backup - Trigger an off-site backup (requires a compatible backup plan).
Set a time offset for each task in seconds so they run sequentially.
Example: Daily warning then restart
- Task 1 - Send command:
say Server restarts in 5 minutes for daily maintenance- offset 0s - Task 2 - Send command:
say Restarting in 1 minute!- offset 240s - Task 3 - Send power action: Restart - offset 300s
Pausing a schedule
In the Schedules list, click the toggle next to any schedule to pause it without deleting it.
Need help building a cron? Ask in our Discord and we'll write it for you.