Your game server lives inside the 8Bit Hosting panel, which runs on Pterodactyl: one of the most powerful game server control panels available. This illustrated guide shows you exactly how to use it.
Logging in
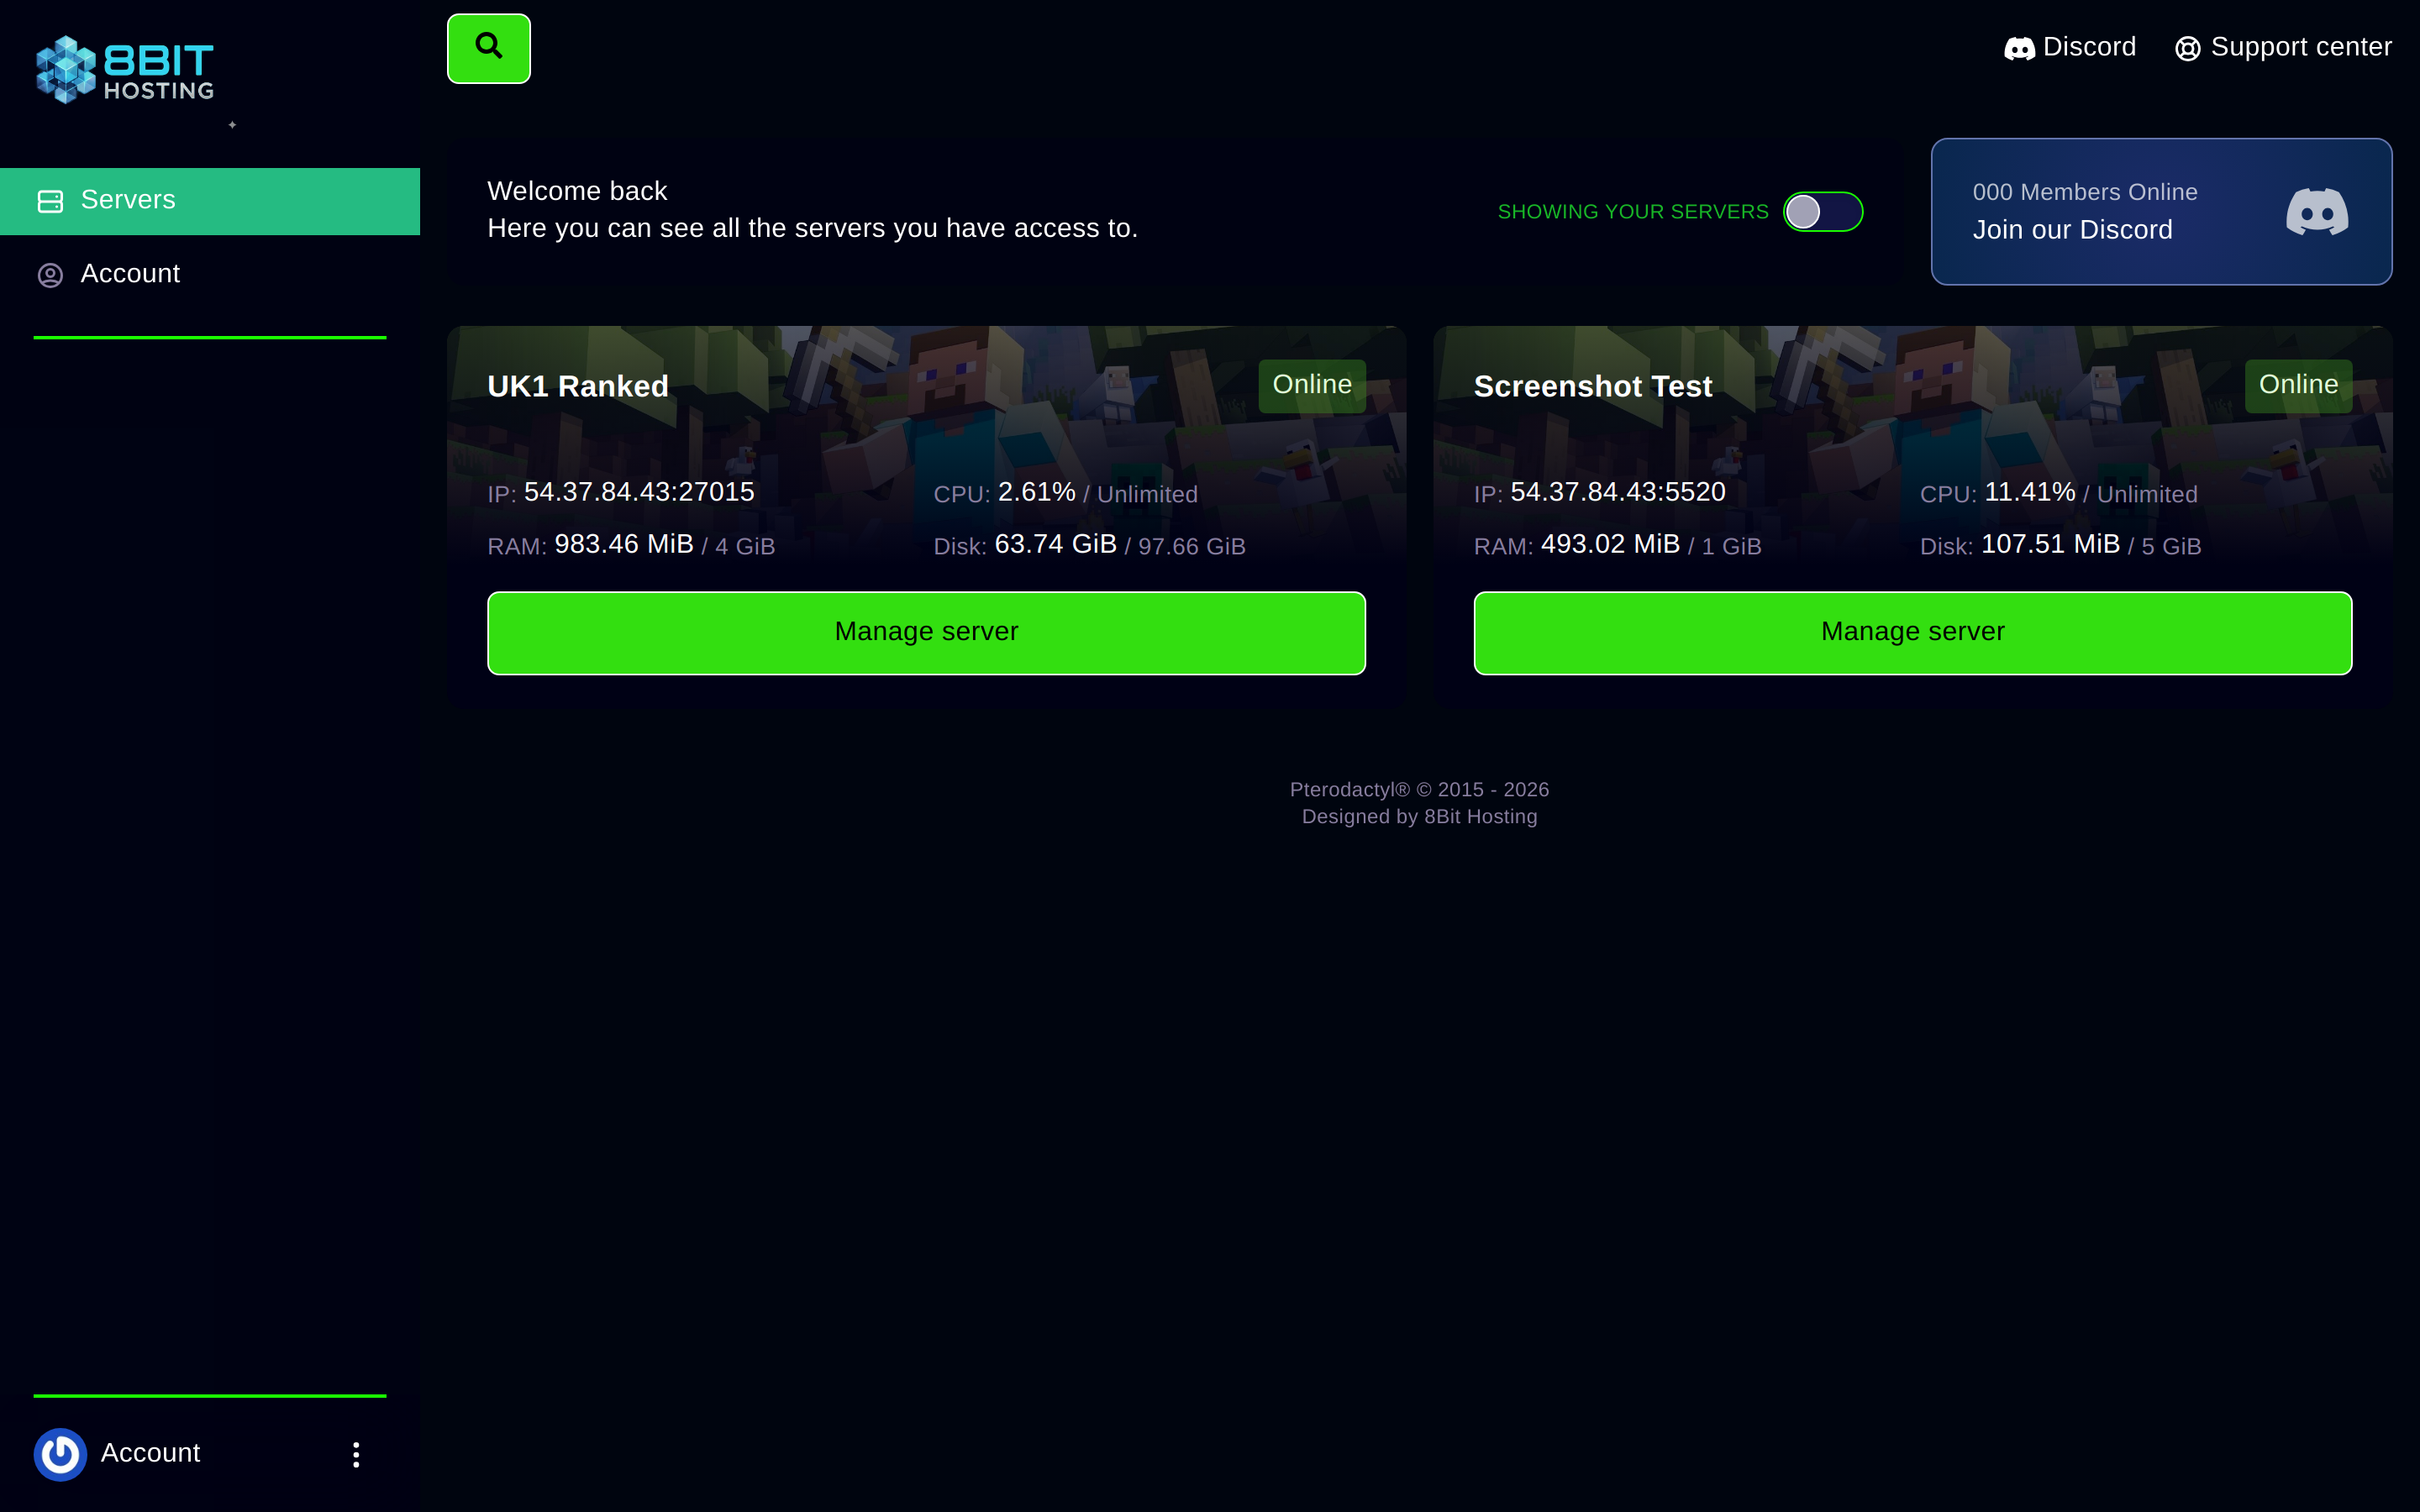
Visit panel.8bit-hosting.com and enter your username and password from your welcome email. You'll land on the server list. Each card shows your server's name, live status, IP address and resource usage. Click Manage server to go inside.
The server overview (Dashboard tab)
The first thing you see inside a server is the Dashboard. It shows live CPU, RAM and Disk usage, plus the server's IP address and SFTP connection details.

Starting, stopping and restarting
Click Console in the left sidebar. The three power buttons in the top-right corner (Start, Restart, Stop) control the server. The status badge turns green once the game is fully running. The console window shows all server output in real time, player joins, errors, chat.
To send a console command, type it in the input box at the bottom and press Enter. For most games you don't include the leading / (e.g. type say Hello, not /say Hello).
All the panel sections explained
The left sidebar gives you access to every feature. Here's what each section does:
- Dashboard: resource stats + SFTP login details
- Console: live log + power controls + command input
- Files: in-browser file manager; edit configs, upload mods, manage worlds
- Databases: create MySQL databases for plugins that need one
- Schedules: automate restarts, console commands and backups on a timer
- Users: invite others to access your server with specific permissions
- Premium Backups: encrypted off-site backups via Restic (add-on, £3.99/mo per server)
- Network: view your assigned IP and port allocations
- Subdomains: get a free
yourname.8bit-hosting.comconnect address - Startup: change server type, version and launch arguments
- Settings: rename your server, reset SFTP password
- Activity: audit log (who logged in, started/stopped the server, etc.)
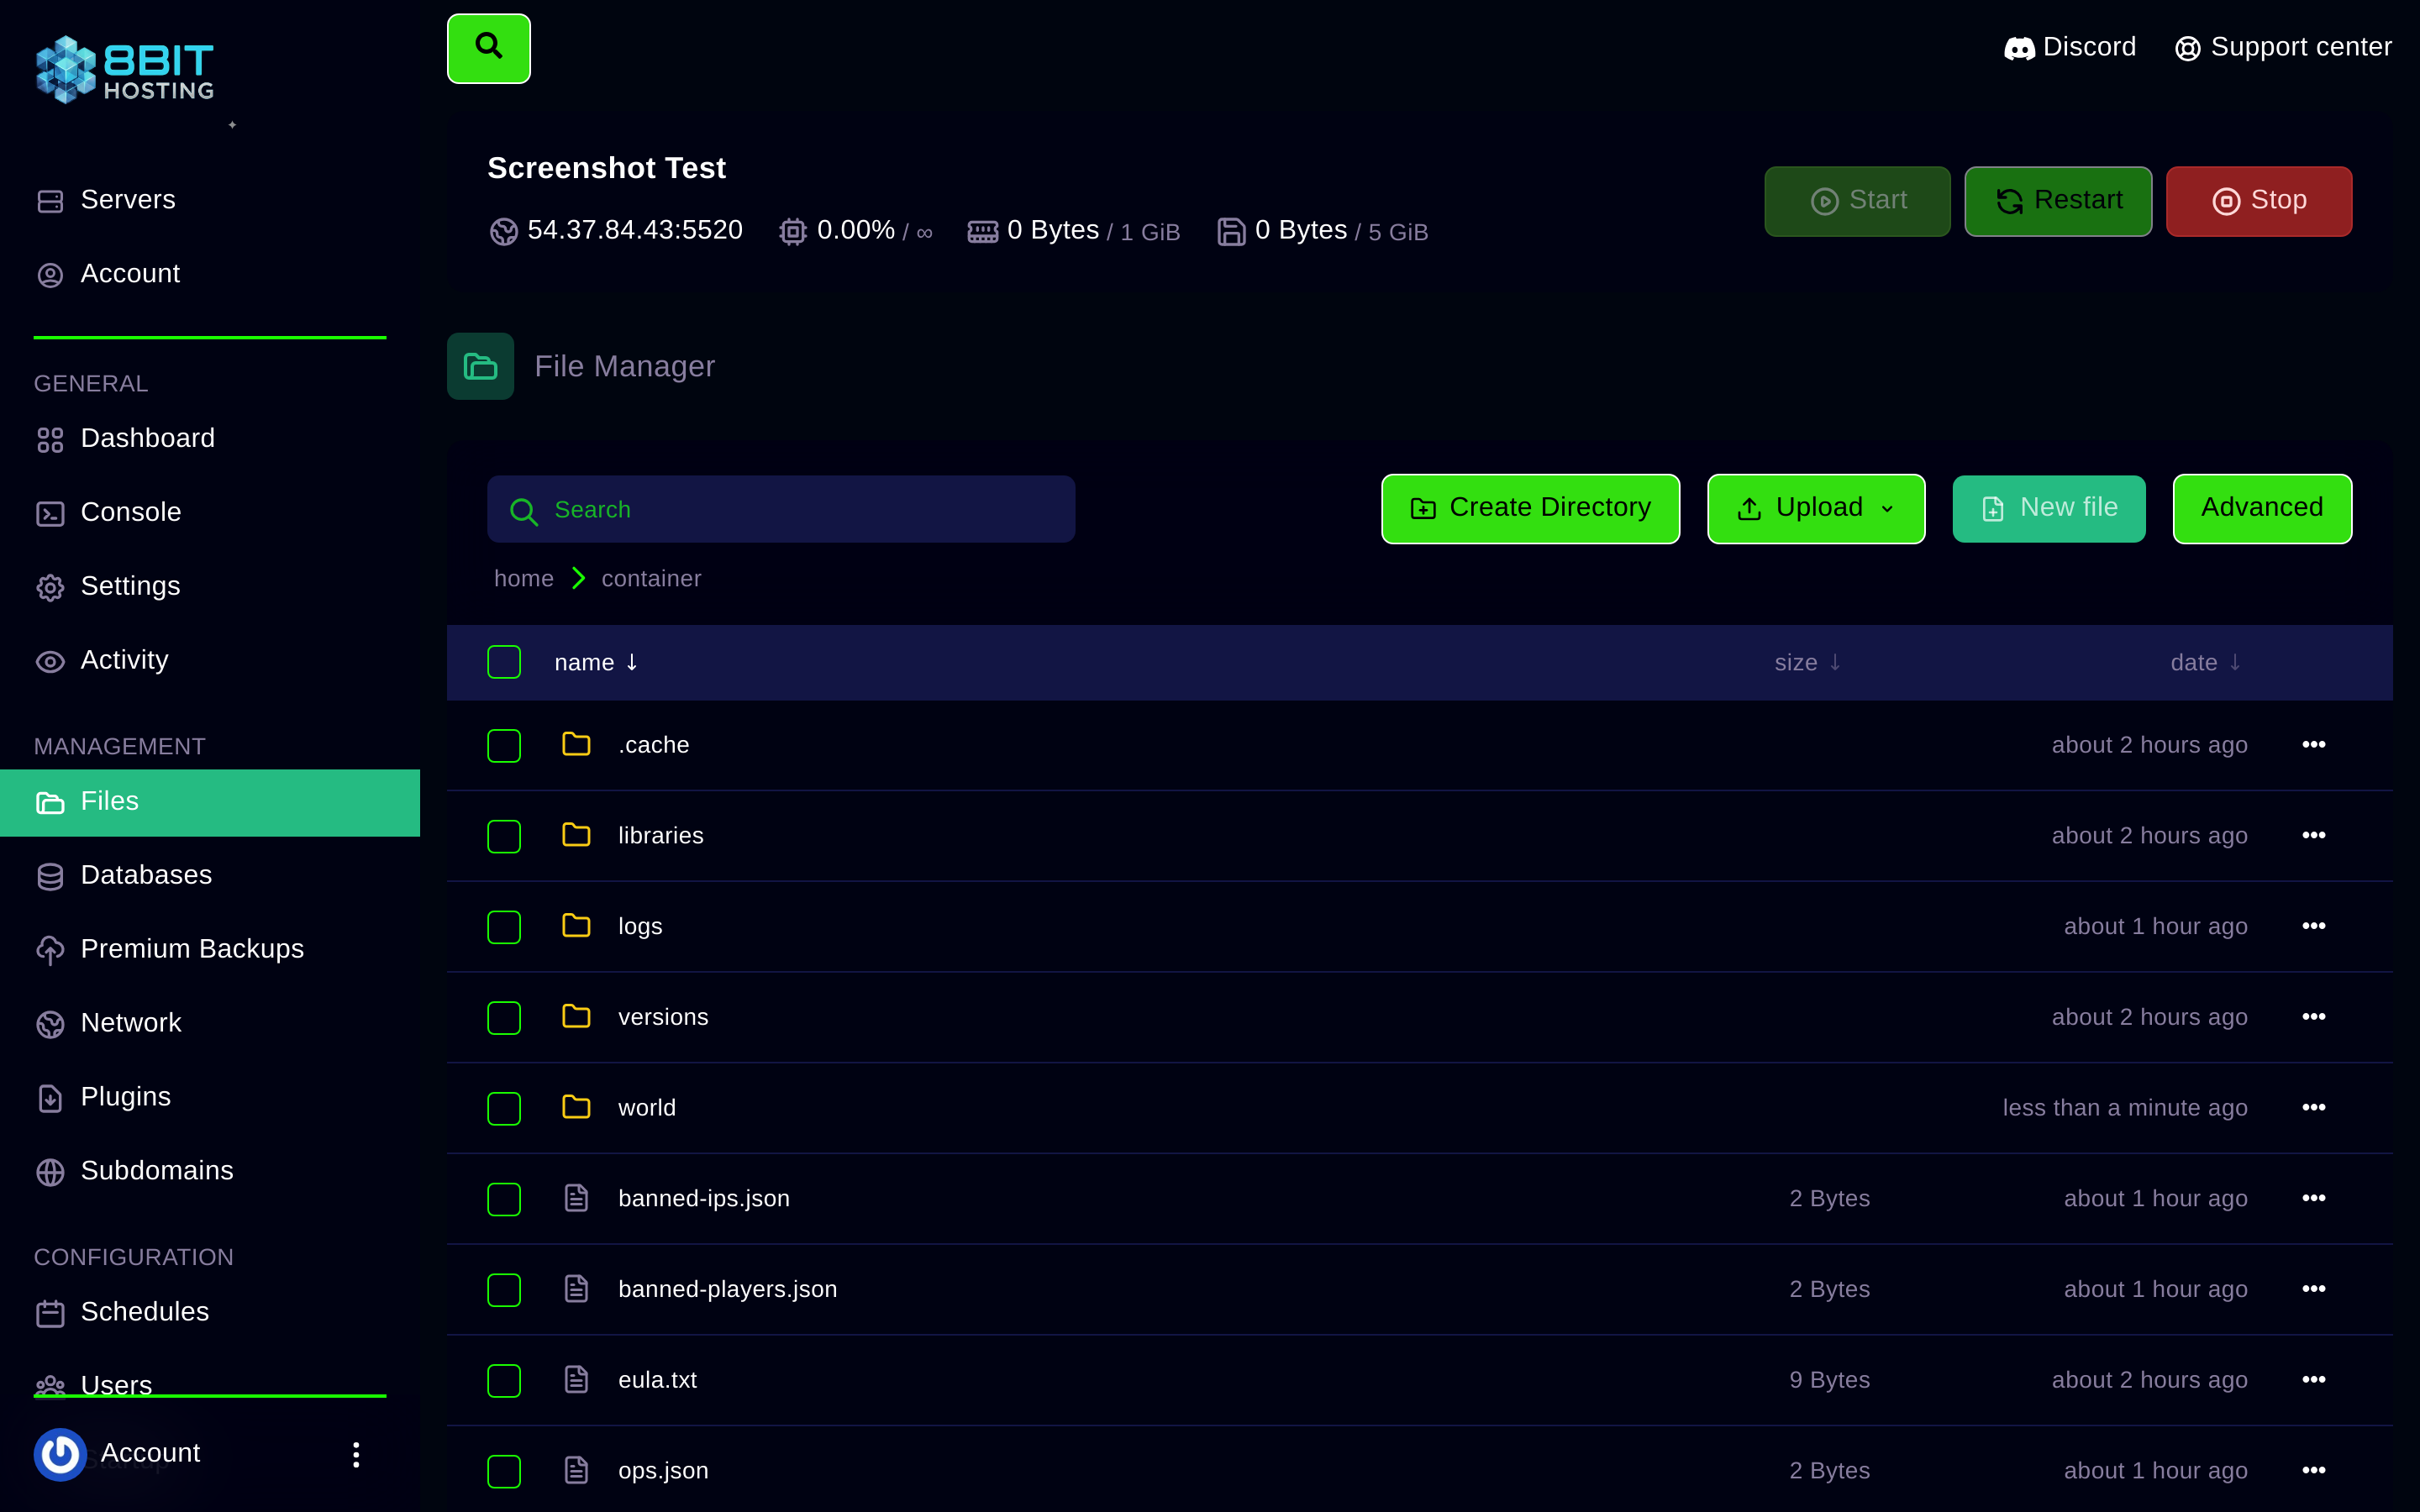
File Manager
Click Files to open the file browser. You'll see all your server files just like an FTP client but entirely in-browser. Click any text file to edit it inline, great for server.properties, config.yml, whitelist files and so on. The Upload button lets you drag-and-drop plugin JARs, mod folders or world saves. Right-click any file or folder for rename, copy, move, compress and delete options.
Premium Backups
Click Premium Backups in the sidebar and hit CREATE BACKUP. Restic encrypts your data and stores it off-site on a completely separate storage system. Once a snapshot appears in the list, click the restore button to roll back to it. Restoring replaces all current files and restarts the server automatically.
Schedules
Click Schedules → Create schedule. Set a cron expression (e.g. 0 4 * * * for 4 AM daily) and add tasks like Restart or Send command. The panel handles everything automatically from that point on.
SFTP (bulk file transfers)
For uploading large mod packs or world folders, use an SFTP client like FileZilla. Get your connection details from the Dashboard tab, the host is panel.8bit-hosting.com on port 2022, username as shown, password = your panel password.
Need help with any of this? Join our Discord or email support@8bit-hosting.com, we're online 24/7.